
Date Bars
8
Published Dec 09, 2024
This post may include affiliate links. Thank you for your support.
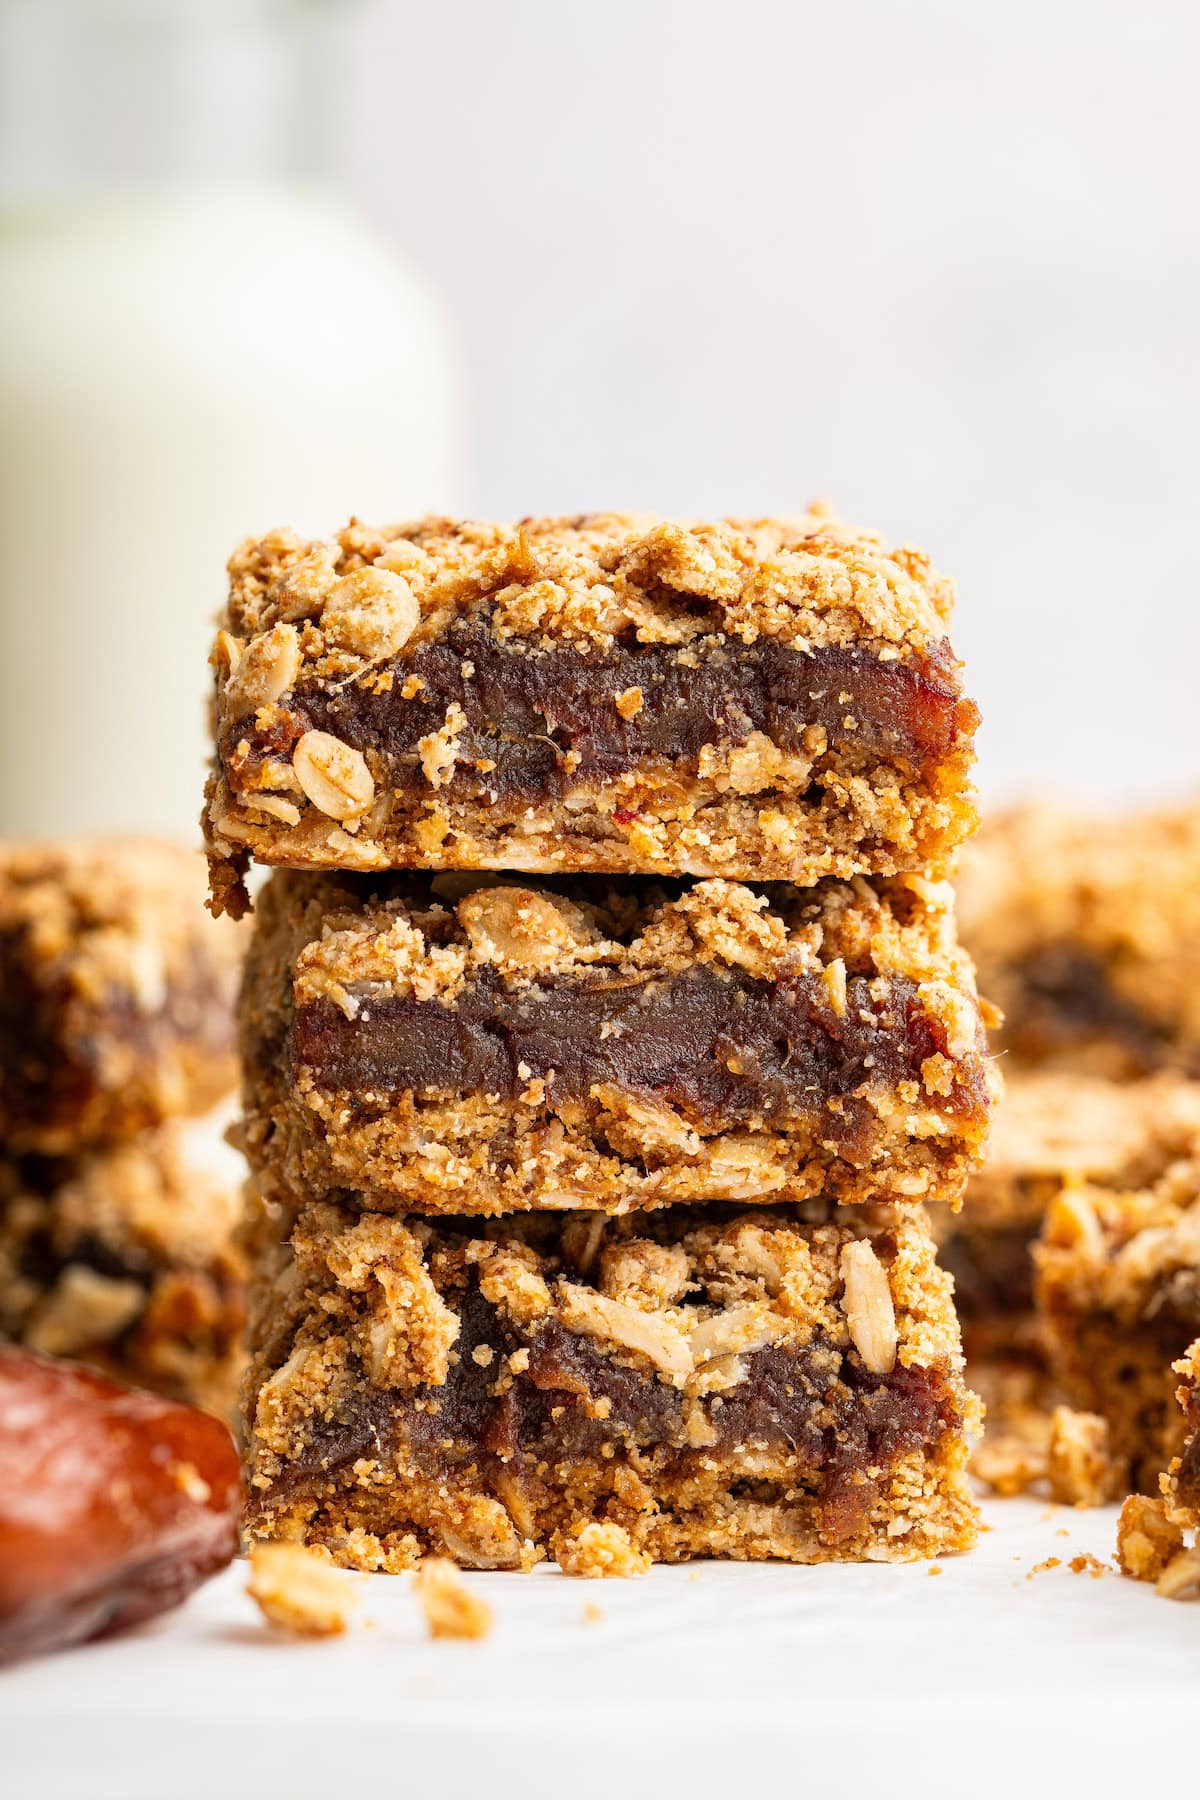
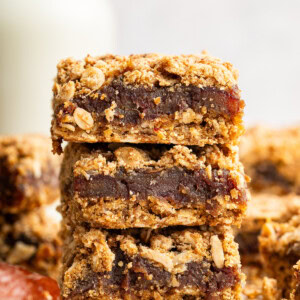
The best date bars made with a sweet date filling and topped with a delicious buttery oat crumble. They’re gluten-free, naturally sweetened and super easy to make!
I LOVE all things dates! From my snickers stuffed dates and healthy peanut butter balls to my salted caramel oatmeal I’ll eat dates just about any way. My latest obsession has definitely been these new date bars.
Ever since my first bite, I’ve been completely hooked on them. They’ve got that perfectly sweet jammy date filling nestled in between two layers of buttery oat goodness. Plus, they’re a breeze to whip up with just a handful of pantry staples. Trust me, you’re going to want to make a batch (or two) ASAP!
Table of Contents
Why You’ll Love This Recipe
- Naturally sweet – The dates provide all the sweetness you need, no refined sugar overload here.
- Easy to make – Simple steps, basic ingredients, and no fancy equipment required.
- Wholesome ingredients – With oats and dates as the stars, these bars feel indulgent but are packed with better-for-you goodness.
- Versatile – Perfect with coffee or tea, great for on-the-go snacking, and lovely as a light dessert after dinner.
- Freezer-friendly – Make a batch, freeze some, and you’ve got a ready-made treat waiting whenever the craving strikes!
Ingredients Needed
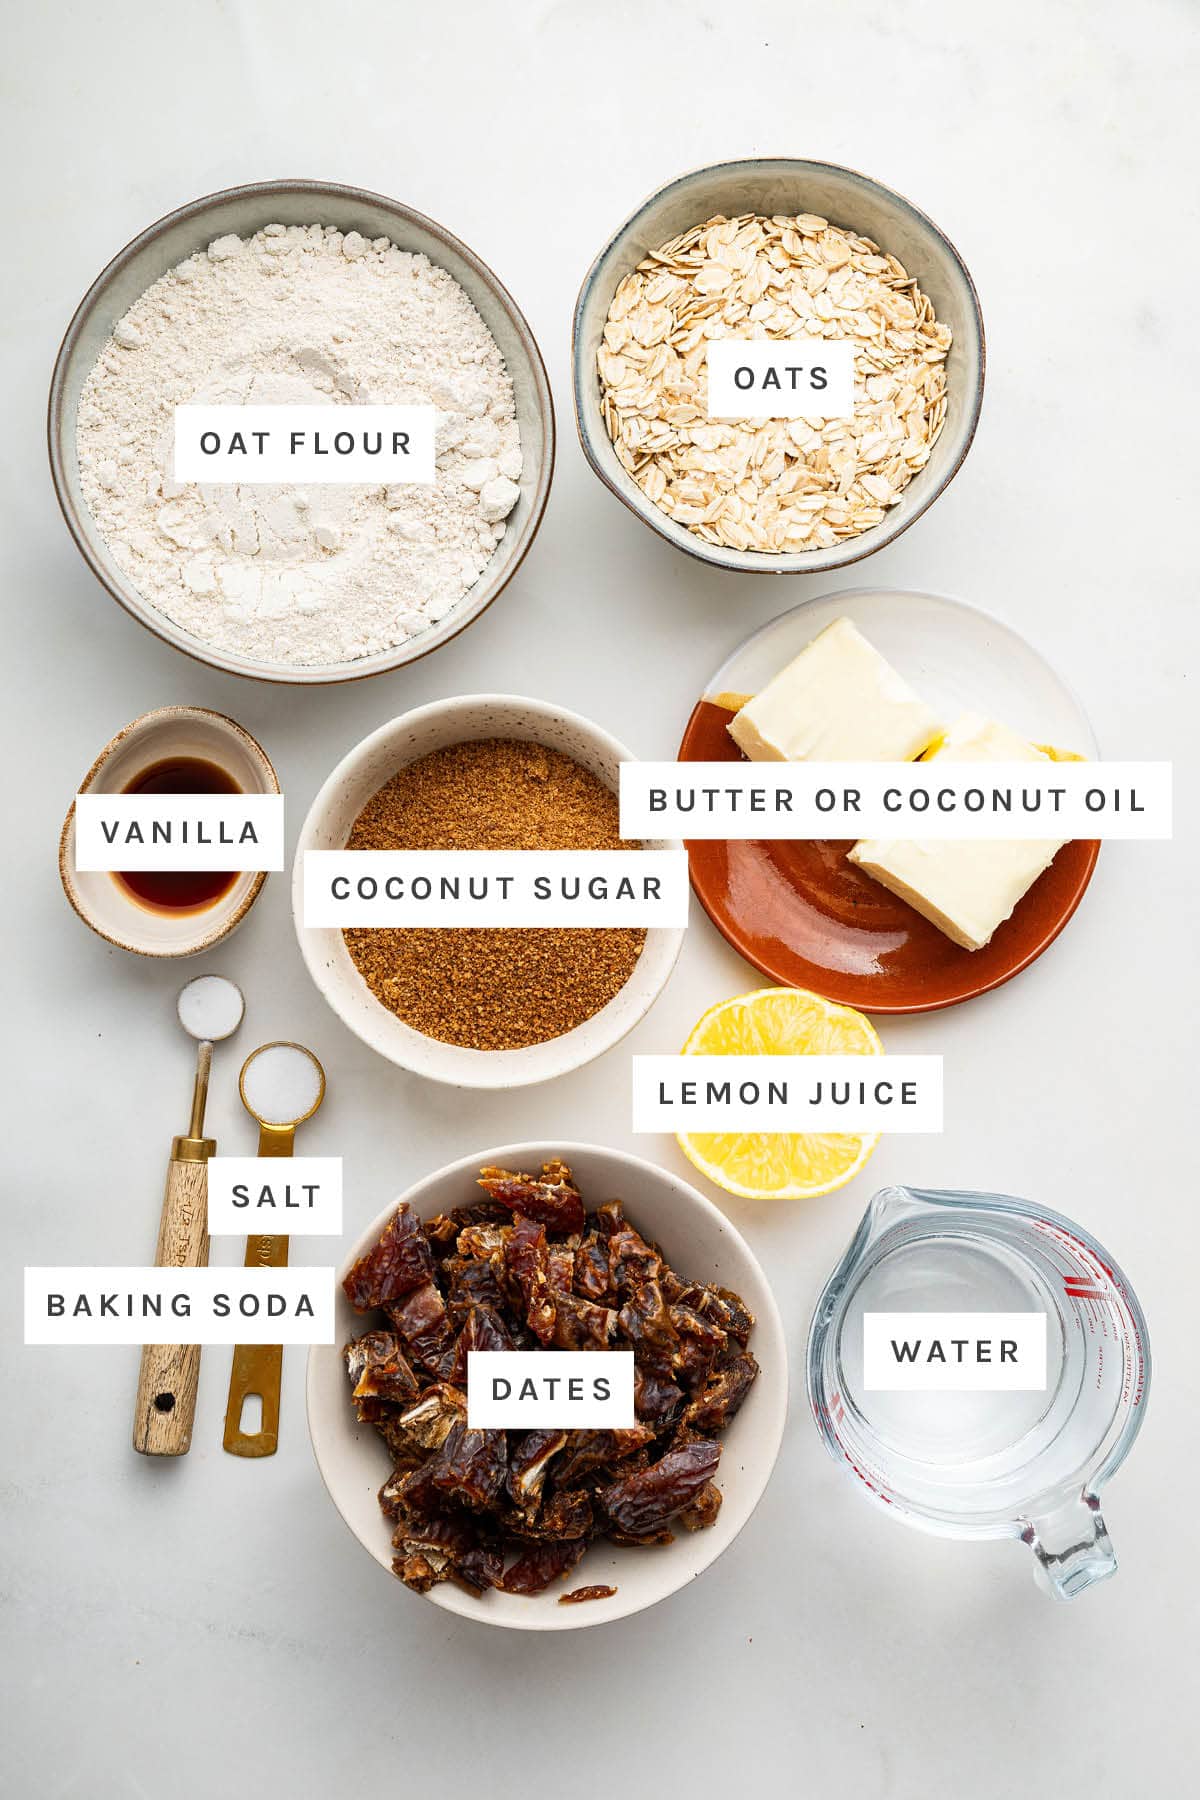
- dates – the star of our filling! Choose soft, plump dates for the best jammy texture. I like using Medjool dates, but any variety will do as long as they’re nice and sticky.
- old-fashioned rolled oats + oat flour – these form the hearty, crumbly base and topping. The oats add chewiness, while the oat flour helps everything hold together. If you only have rolled oats, you can blitz them in a blender to make your own oat flour.
- coconut sugar – a lightly caramel-flavored sweetener that pairs perfectly with the dates and oats.
- vanilla extract – just a splash for a warm, cozy flavor that ties everything together.
- butter or coconut oil – your choice! Either one will give these bars richness and tenderness. Butter gives a more classic pastry flavor, while coconut oil keeps them dairy-free. Just be sure to use room temperature coconut oil rather than melted, so it blends into the dough perfectly.
- lemon juice – a tiny bit of brightness in the date filling that makes all the difference.
Find the full ingredient list with measurements in the recipe card below.
Substitutions
- Sugar: If you’re short on coconut sugar, don’t worry — brown sugar still delivers that cozy, caramel-like sweetness. Feeling adventurous? Try maple sugar or a granulated monk fruit sweetener for a unique twist on flavor and texture.
- Nuts: Chopped walnuts or almonds add great texture and flavor, but if you’d rather keep things simple, just leave them out. These bars are totally delicious with or without the extra crunch.
How to Make Date Bars

Step 1: Add dates and water to a saucepan, bring to a gentle boil, then simmer for about 10 minutes until thick and jammy. Stir in vanilla and lemon juice, then set aside.
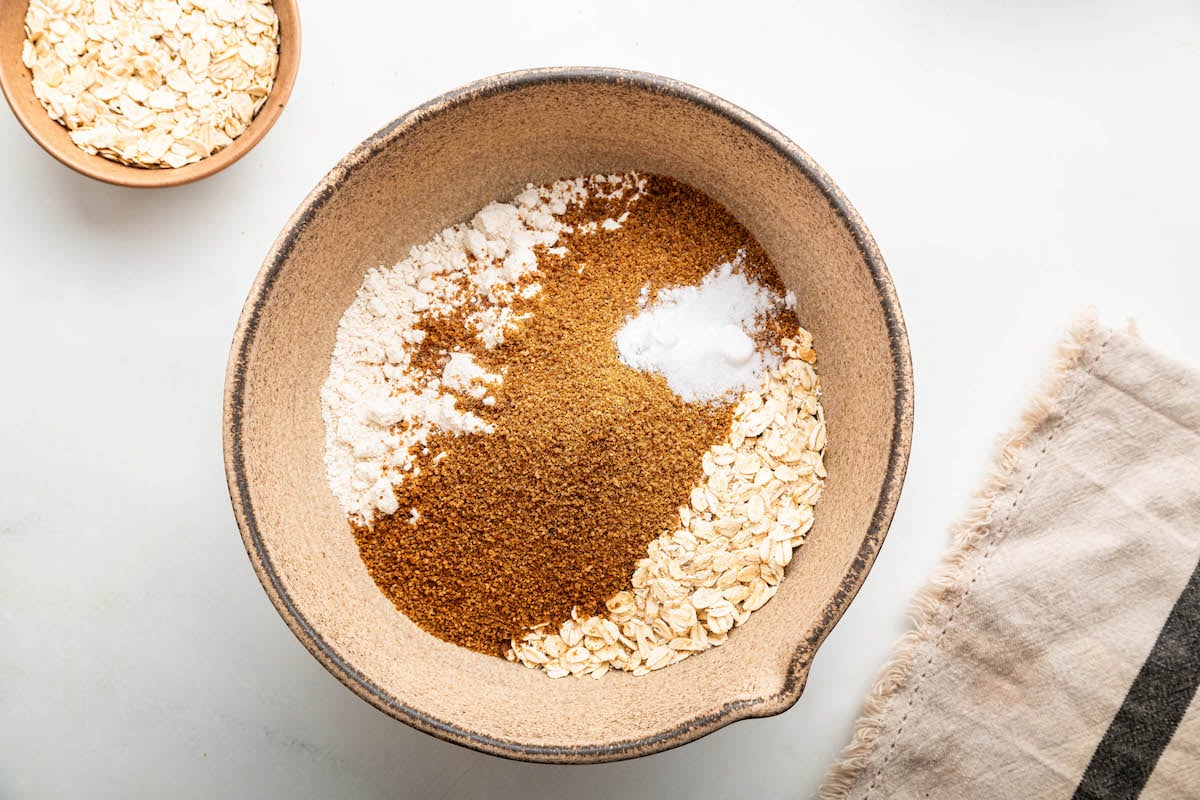
Step 2: In a medium bowl, combine oat flour, rolled oats, coconut sugar, baking soda, and salt.
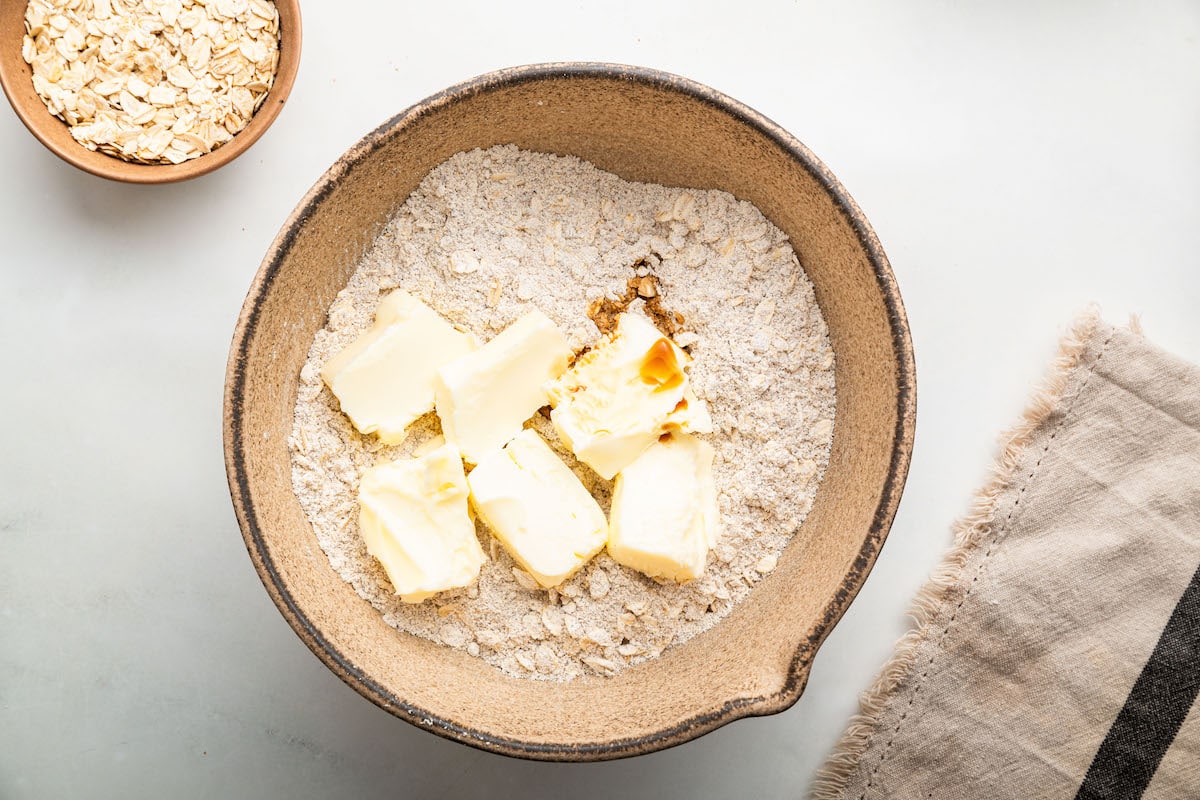
Step 3: Add vanilla extract and softened butter (or coconut oil) to the dry mixture.
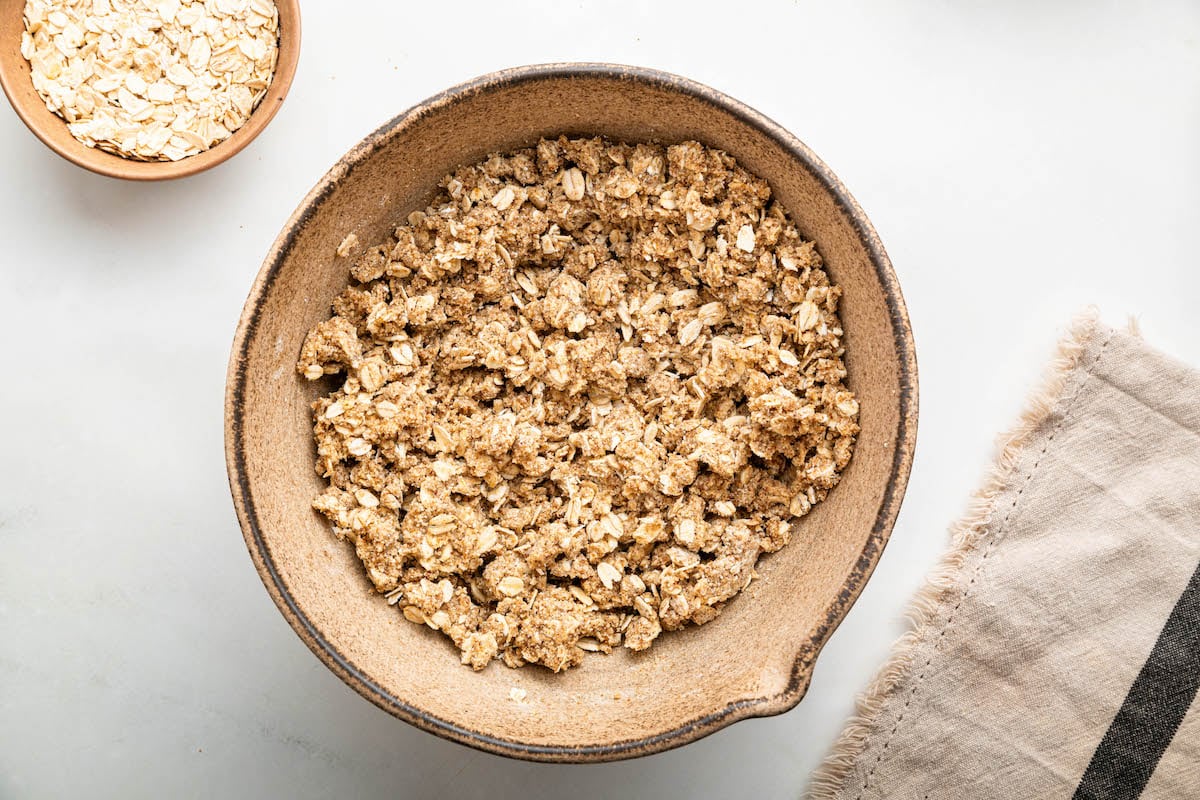
Step 4: Use a fork or your fingers to mix until a crumbly dough forms and starts to clump together.
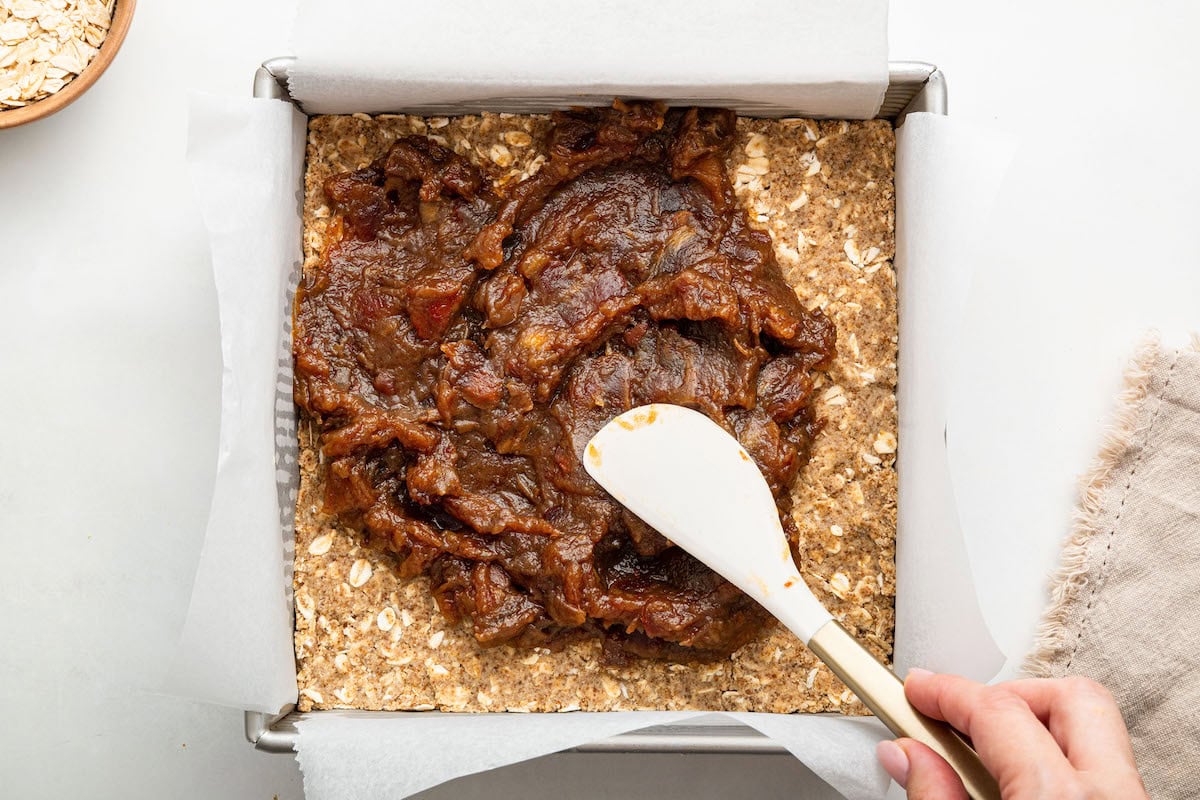
Step 5: Press about 2 cups of the crumble mixture into the prepared pan to form a firm crust. Spread the date filling over the crust, then sprinkle the remaining crumble mixture on top, gently pressing it down.
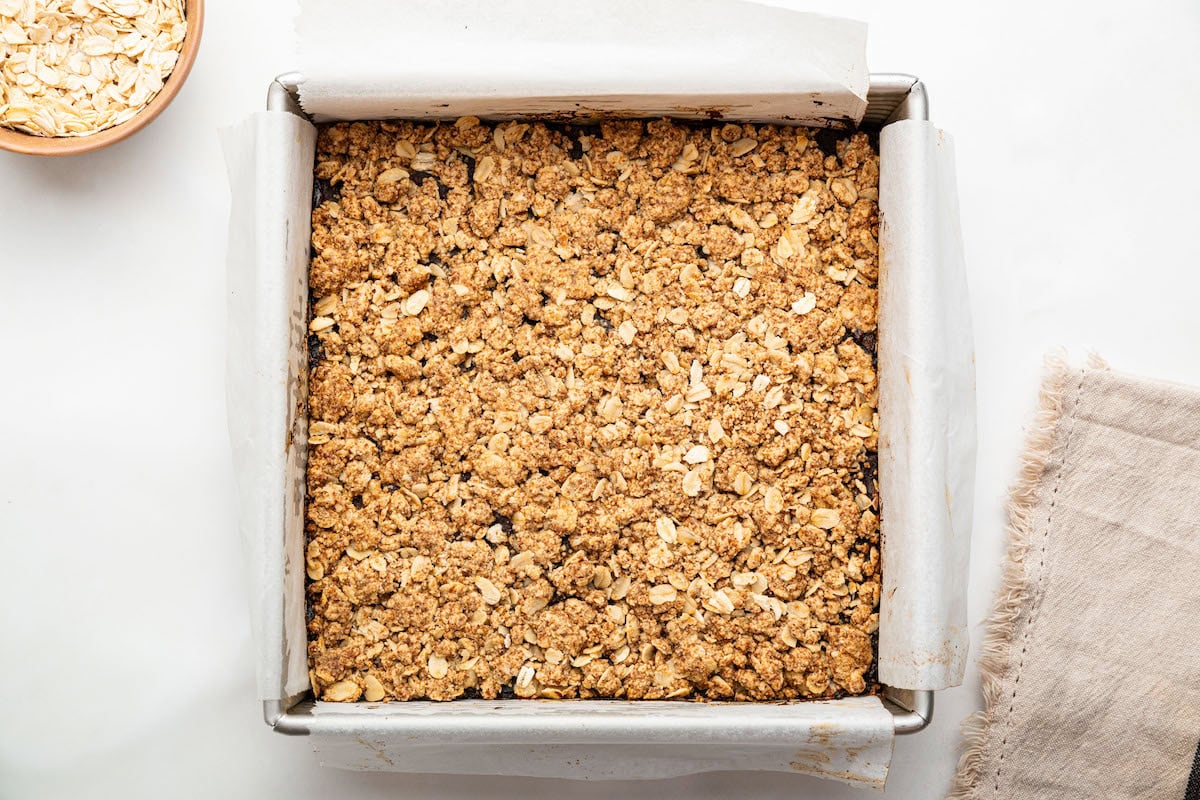
Step 6: Bake for 35–40 minutes until the filling is bubbly and the topping is golden. Let the bars cool completely before slicing into 16 bars and enjoying!
Brittany’s Tips!
- Pick soft dates: If your dates seem a bit dry, soak them in warm water for a few minutes before cooking. This step really helps give a sweet, jammy filling instead of a chewy one.
- Press the crust firmly: Don’t be shy! Use your hands or the back of a measuring cup to really press down the bottom layer so it holds together once baked.
- Watch the baking time: Pull the bars out as soon as the topping is golden and the filling is bubbly. Overbaking can dry them out, so keep an eye on the oven.

How to Store
Once cooled, keep your date bars in an airtight container at room temperature for 3 to 4 days. They are perfect for grabbing on your way out the door!
If you want them to last longer, pop them in the fridge for up to a week. Craving a future snack? They freeze beautifully too. Just wrap them up, tuck them in the freezer, and thaw whenever you need a sweet treat on demand.
Frequently Asked Questions
If your dates feel dry or tough, a quick soak in warm water for a few minutes will help them soften up and give you that jammy, delicious filling.
As long as you’re using certified gluten-free oats and oat flour, these bars can be made gluten-free. Always double-check your ingredient labels to be sure.
Look for a lightly golden top and bubbly filling around the edges. Once you see these signs, pull them out and let them cool completely before slicing for clean, bakery-worthy squares.
More Desserts to Try
- Healthy Blueberry Crumble Bars
- Cherry Crisp
- Healthy Apple Crisp
- Fig Jam Crumble Bars
- Healthy Apple Crumble Bars
If you enjoyed this recipe, please consider leaving a ⭐ star rating and let me know how it went in the 📝 comments below.
Date Bars
Ingredients
Crumble
- 1 ½ cups oat flour
- 1 cup old-fashioned rolled oats
- ½ cup coconut sugar
- 1 teaspoon vanilla extract
- ½ teaspoon baking soda
- ½ teaspoon salt
- ½ cup unsalted butter or coconut oil, softened
Filling
- 1 package, 8 ounces dates, chopped (about 1 ¼ cups)
- 1 cup water
- 1 teaspoon vanilla extract
- 1 teaspoon lemon juice
Instructions
- Preheat to 350 F and line a 8×8 square baking dish with parchment paper.
- Add dates and water to a saucepan. Bring to a boil, then reduce heat to simmer. Simmer for about 10 minutes, stirring occasionally until mixture has thickened and dates are soft.
- Stir in vanilla and lemon juice to date mixture.
- While dates are simmering, make crumble mixture by adding oat flour, rolled oats, coconut sugar and baking soda to a medium mixing bowl. Stir to combine.
- Add vanilla extract and softened butter to the oat mixture. Using a fork or your fingers, stir together until a crumble forms and the dough starts to clump together.
- Add 2 cups of the oat mixture to the prepared baking pan. Press the dough firmly into the bottom of the pan using your hands to create an even crust.
- Pour the date mixture over the crust and spread into an even layer with a spatula.
- Sprinkle the remaining oat mixture (1 cup) over the date mixture, pressing down gently with a spatula.
- Bake for 35-40 minutes or until filling is bubbly and topping is golden.
- Allow bars to cool completely before cutting into 16 bars. Enjoy!
Notes
- Storage: Store any leftover date bars at room temperature for 3-4 days, in the fridge for up to 1 week or in the freezer for up to 3 months.
Nutrition
Nutrition information is automatically calculated, so should only be used as an approximation.


I ended up making these and they are delicious! I halfed the sugar as I find dates sweet already and they turned out perfect. I usually get a “good” from my husband but this got a “really, really good” and “I really like these” – I found very funny as never received that compliment before!
So compliments to you for a very good recipe – I don’t think they are going to last long – another bonus is my house smelled great – like burning a candle but better!
Oh awesome! So glad this recipe turned out with half the sugar. Thanks for coming back to share and for making this recipe.
I am going to try making these but just wondering if 16 servings is correct – seems very small – was thinking maybe more 12 for this size pan?
I cut my bars into 16 squares, but you can definitely cut them into 12 instead. Just note that the macros will be different. 🙂
These are absolutely delicious!!!
So glad you enjoyed this recipe, Becky. Thanks for making it and for coming back to leave a review. I so appreciate it!
Are these freezeable
Yes! You can store these bars in a freezer-safe container in the freezer for up to 3 months. Let them thaw overnight in the fridge before enjoying!